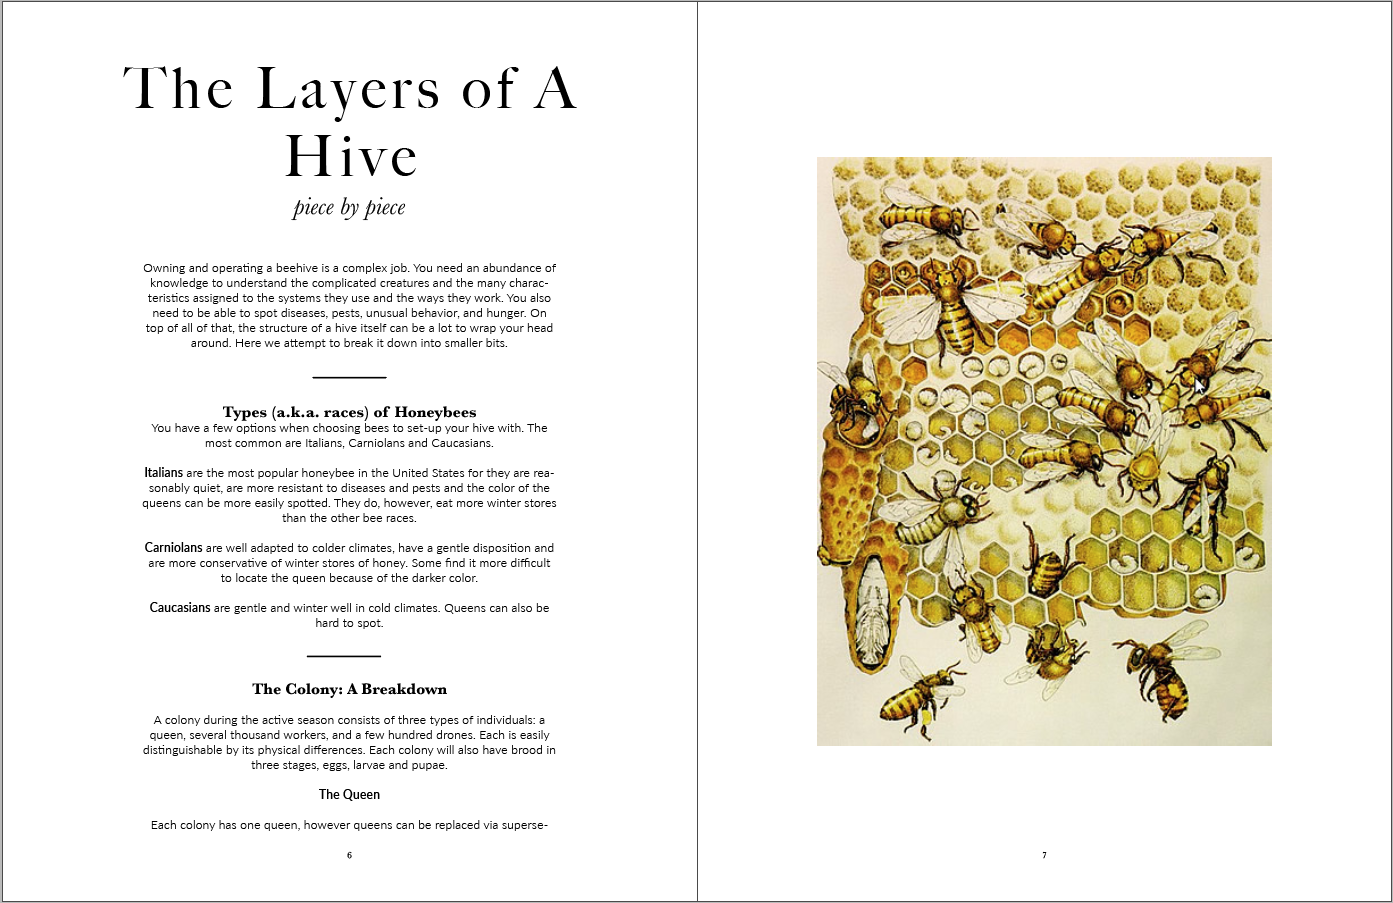
Hedge Nettle Flatbread with Garlic Scapes
Ingredients:
Dough
0.8 grams (scant 1/4 teaspoon) instant dried yeast
700 grams (3 cups) water, 90-95 degrees F, divided
1000 grams (7 3/4 cups) all-purpose flour
20 grams (1 tablespoon + 3/4 teaspoon) fine sea salt
Topping
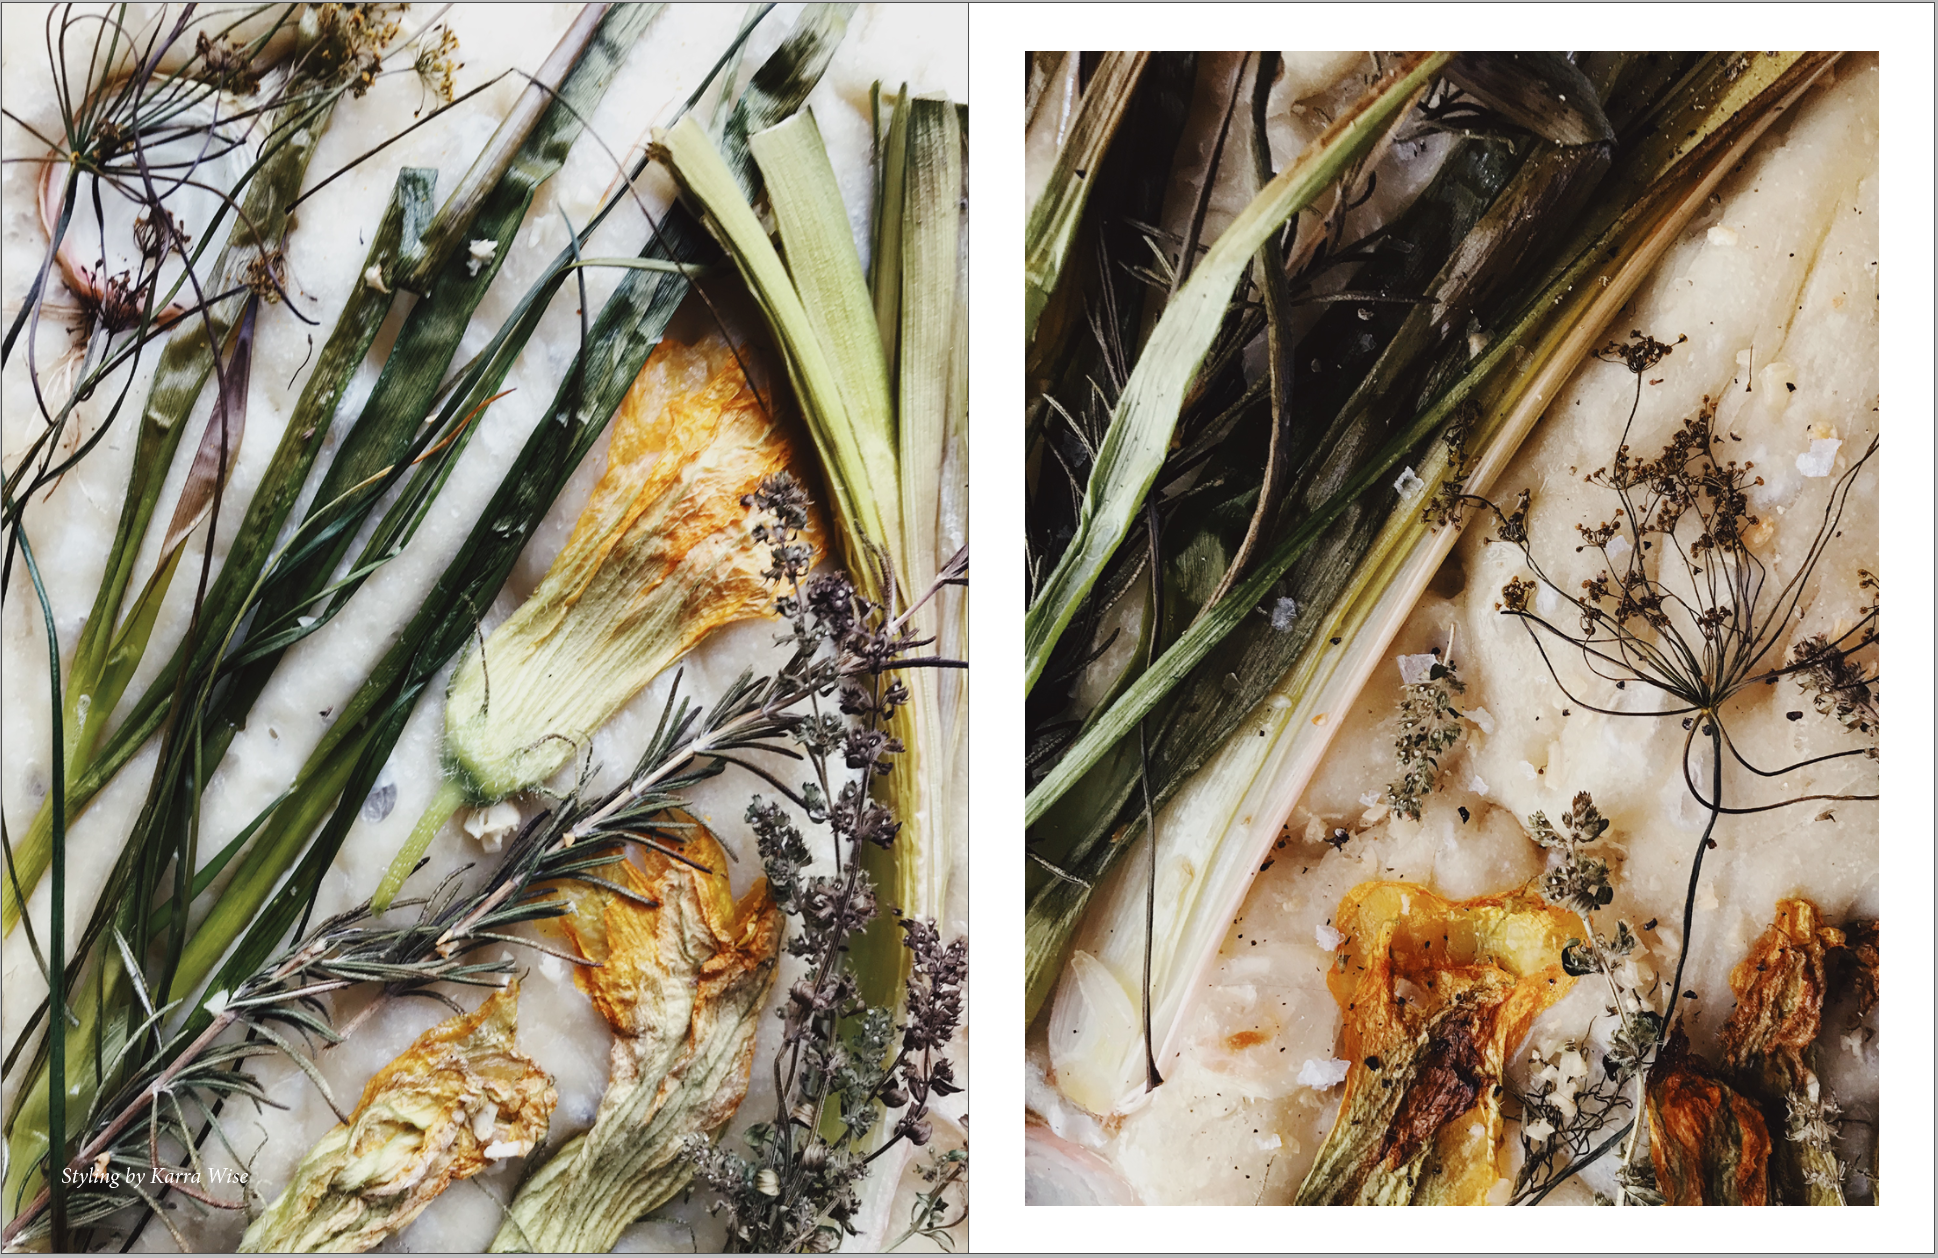
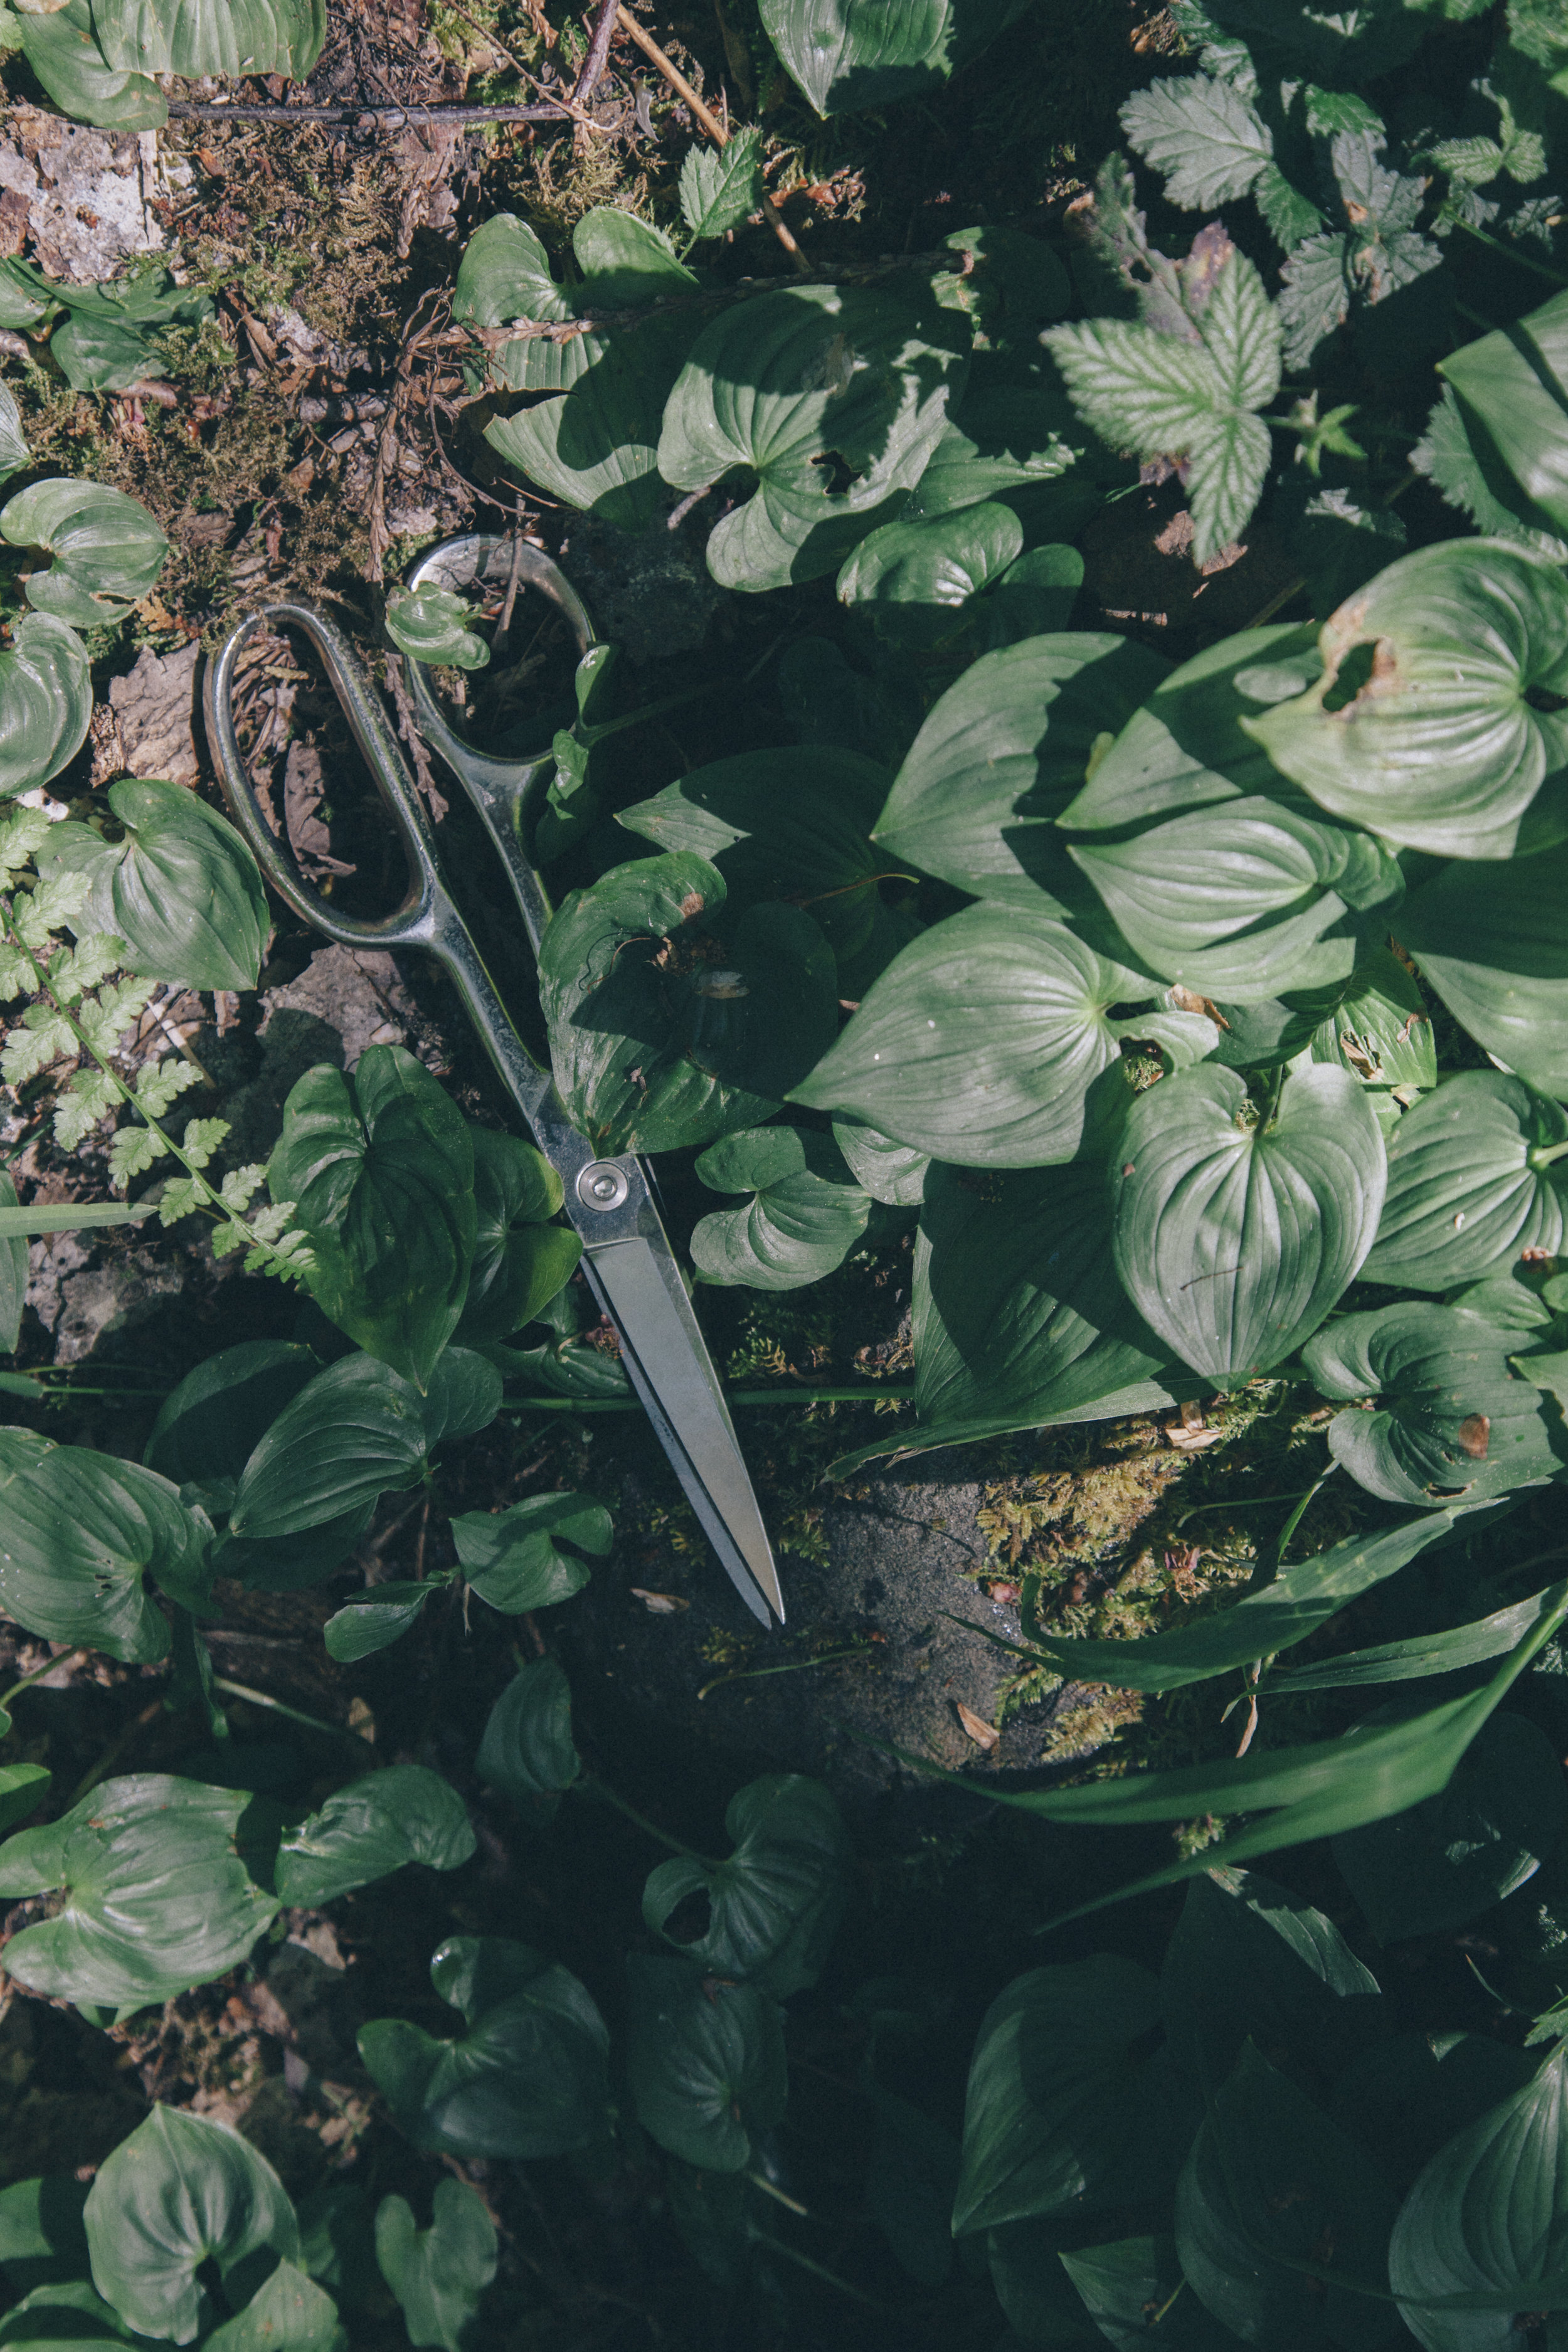
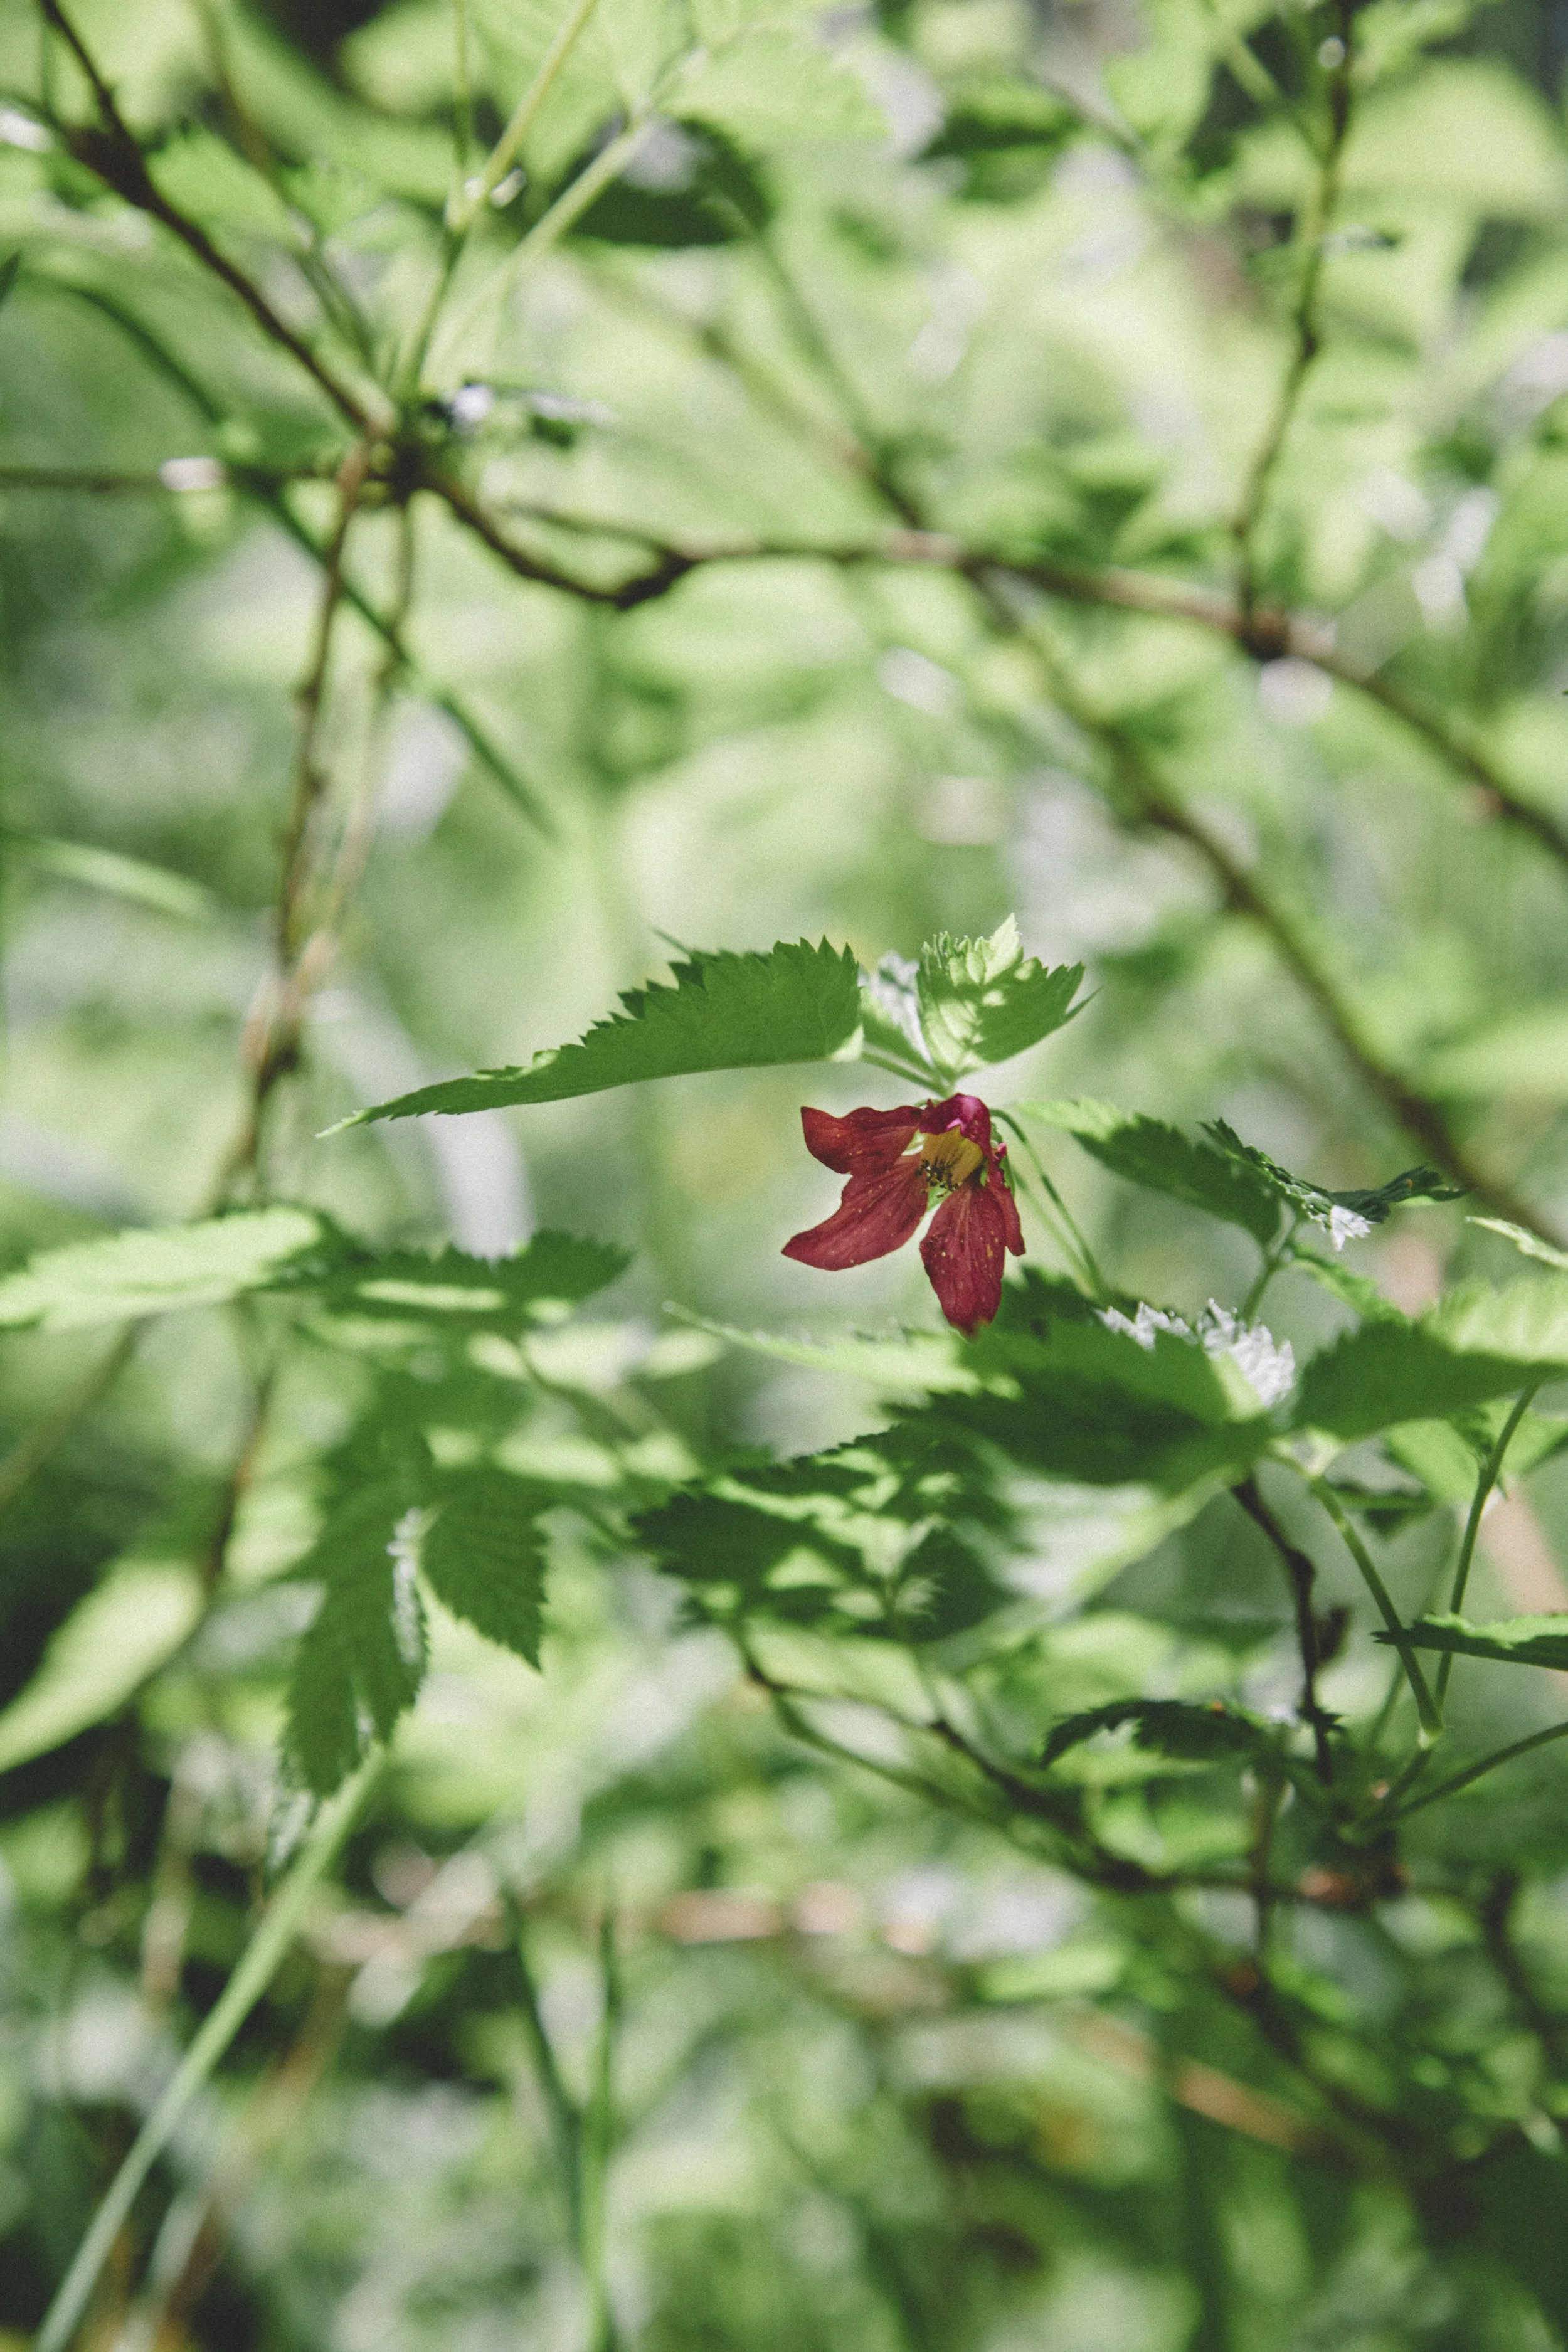
A couple handfuls of Hedge Nettles, washed and leaves and flowers plucked
4 garlic scapes (or 1 clove garlic)
Olive Oil
Salt
Pepper
A couple tablespoons of Salted Butter (Kerrygold brand recommended), melted
To make the dough:
1. Combine the yeast and 3 tablespoons of the water in a small bowl and set aside. Combine the remaining water with the flour in a large bowl and mix by hand until incorporated. Cover with plastic wrap and let rest in a warm, draft-free area for 30 minutes.
2. Sprinkle the salt over the top of the dough. Gently stir the yeast mixture with a clean finger then pour over the dough. Use a small piece of the dough to wipe the remaining yeast goop from its bowl and add back into the dough mixture.
3. Wet your hands, reach underneath the dough, and grab about 1/4 of the dough mass. Gently stretch and pull the section over the rest of the dough, onto the opposite underside. Repeat 3 or more times with the remaining dough until the salt and yeast are incorporated.
4. Use your fingers to pinch the ingredients into the dough, then fold it over onto itself, repeating the process to fully integrate the ingredients. Cover with plastic wrap and let rise for 1 hour.
5. Wet your hands, reach underneath, and grab about 1/4 of the dough, stretch and pull the section across the remaining dough and tuck underneath. Repeat. Lightly brush dough with olive oil. Cover again with plastic wrap and let rise about 12 hours (dough will be 2 to 3 times its original size).
5. Place the dough on pastry board or floured surface, coat with flour and use a dough scraper to divide into 5 equal pieces. Repeat the folding process above with each ball of dough. Lightly brush with olive oil, cover and refrigerate 6 hours. Bring to room temperature before baking.
To assemble:
1. When the dough is ready and at room temperature, place a baking stone (if you have one), in your oven and heat to 450 degrees F. On a lightly floured piece of parchment set over a cookie sheet, roll the dough into a rectangle, about 1/4" thick. Using a cookie sheet here as opposed to a baking sheet is important if using a baking stone. The stone will be firey hot when the oven is heated and you'll need to be able to slide the dough onto it running into anything.
2. Meanwhile, prep the toppings. Chiffonade the nettle leaves by stacking on top of each other and tightly rolling like a cigar. Pinching the roll in one hand, thinly slice the roll into small ribbons. Mince the garlic scapes.
3. When the oven is ready and the dough is rolled, brush the entire surface of the dough with olive oil. Sprinkle a couple pinches of salt over top and follow with a few cracks of fresh pepper. Evenly scatter the chiffonaded nettle leaves, flowers, and minced garlic scapes. Very carefully open the oven door and slide the dough onto the stone. Bake for 15-20 minutes, until golden brown.
4. Remove from the oven and brush with the melted butter. Let cool about 5 minutes, slice into squares with a pizza cutter and serve.